Regardless of how we render the objects, there is a strange visual problem with what we're rendering:
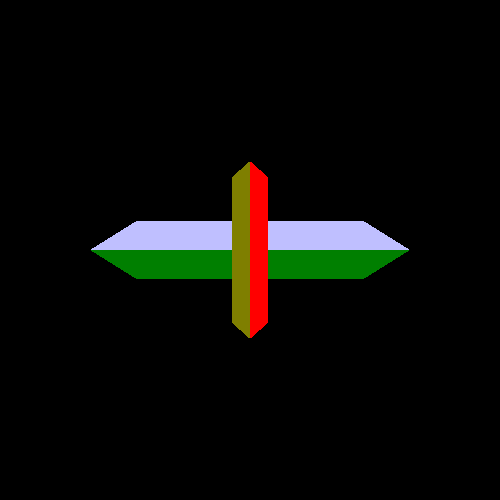
If the smaller object is truly behind the larger one, why is it being rendered on top of the larger one? Well, to answer that question, we need to remember what OpenGL is.
The OpenGL specification defines a rasterization-based renderer. Rasterizers offer great opportunities for optimizations and hardware implementation, and using them provides great power to the programmer. However, they're very stupid. A rasterizer is basically just a triangle drawer. Vertex shaders tell it what vertex positions are, and fragment shaders tell it what colors to put within that triangle. But no matter how fancy, a rasterization-based render is just drawing triangles.
That's fine in general because rasterizers are very fast. They are very good at drawing triangles.
But rasterizers do exactly and only what the user says. They draw each triangle in the order given. This means that, if there is overlap between multiple triangles in window space, the triangle that is rendered last will be the one that is seen.
This problem is called hidden surface elimination.
The first thing you might think of when solving this problem is to simply render the most distant objects first. This is called depth sorting. As you might imagine, this “solution” scales incredibly poorly. Doing it for each triangle is prohibitive, particularly with scenes with millions of triangles.
And the worst part is that even if you put in all the effort, it does not actually work. Not all the time at any rate. Many trivial cases can be solved via depth sorting, but non-trivial cases have real problems. You can have an arrangement of 3 triangles where each overlaps the other, such that there simply is no order you can render them in to achieve the right effect.

Even worse, it does nothing for inter-penetrating triangles; that is, triangles that pass through each other in 3D space (as opposed to just from the perspective of the camera).
Depth sorting is not going to cut it; clearly, we need something better.
One solution might be to tag fragments with the distance from the viewer. Then, if a fragment that is about to be written has a farther distance (ie: the fragment is behind what was already drawn), we simply do not write that fragment to the output image. That way, if you draw a triangle behind other triangles, the fragment distances that were already written will be closer to the camera than the fragment distances of the new triangle. And thus, the particular fragments of that triangle will not be drawn. And since this works at the fragment level, it will work just as well for intersecting triangles or the 3 triangle arrangement depicted above.
The “tag” is the window-space Z value. You may recall from the introduction that the window-space Z position of a fragment ranges from 0 to 1, where 0 is the closest and 1 is the farthest.
Colors output from the fragment shader are output into the color image buffer. Therefore it naturally follows that depth values would be stored in a depth buffer (also called a z buffer, because it stores Z values). The depth buffer is an image that is the same size as the main color buffer, that stores depth values as pixels rather than colors. Where a color is a 4-component vector, a depth is just a single floating-point value.
Like the color buffer, the depth buffer for the main window is created automatically by OpenGL when OpenGL is initialized. OpenGL can even be created without a depth buffer. Since FreeGLUT takes care of initializing OpenGL for us, we tell it in the standard initialization code to create OpenGL with a depth buffer.
Writing the depth is not enough. The suggested idea requires stopping the fragment from writing anything if the current depth at that location is in front of this fragment's depth. This is called the depth test. In OpenGL, the test does not have to be in any particular direction; any of the typical numerical relation operator (greater than, less than, etc) will work fine. If the test passes, then the fragment's outputs (both color and depth) will be written to their appropriate buffer. If it fails, then they will not.
To activate depth testing, we must call
glEnable(GL_DEPTH_TEST); the corresponding
glDisable call will cause depth testing to cease. After
activating testing, we need to call glDepthFunc to set the relation
of the depth test. When the test is true, the incoming fragment is written.
The test functions can be GL_ALWAYS (always write the fragment),
GL_NEVER (no fragments are written), GL_LESS,
GL_GREATER, GL_LEQUAL (<=),
GL_GEQUAL (>=), GL_EQUAL, or
GL_NOTEQUAL. The test function puts the incoming fragment's depth
on the left of the equation and on the right is the depth from the depth buffer. So
GL_LESS means that, when the incoming fragment's depth is less than the depth from the
depth buffer, the incoming fragment is written.
With the fragment depth being something that is part of a fragment's output, you might imagine that this is something you have to compute in a fragment shader. You certainly can, but the fragment's depth is normally just the window-space Z coordinate of the fragment. This is computed automatically when the X and Y are computed.
Using the window-space Z value as the fragment's output depth is so common that, if you do not deliberately write a depth value from the fragment shader, this value will be used by default.
Speaking of window coordinates, there is one more issue we need to deal with when
dealing with depth. The glViewport function defines the
transform between normalized device coordinates (the range [-1, 1]) to window
coordinates. But glViewport only defines the transform for the
X and Y coordinates of the NDC-space vertex positions.
The window-space Z coordinate ranges from [0, 1]; the transformation from NDC's
[-1, 1] range is defined with the glDepthRange function. This
function takes 2 floating-point parameters: the range zNear
and the range zFar. These values are in window-space; they
define a simple linear mapping from NDC space to window space. So if zNear is 0.5
and zFar is 1.0, NDC values of -1 will map to 0.5 and values of 1 will result in
1.0.
Note
Do not confuse the range zNear/zFar with the camera zNear/zFar used in the perspective projection matrix computation.
The range zNear can be greater than the range zFar; if it is, then the window-space values will be reversed, in terms of what constitutes closest or farthest from the viewer.
Earlier, it was said that the window-space Z value of 0 is closest and 1 is farthest. However, if our clip-space Z values were negated, the depth of 1 would be closest to the view and the depth of 0 would be farthest. Yet, if we flip the direction of the depth test (GL_LESS to GL_GREATER, etc), we get the exact same result. Similarly, if we reverse the glDepthRange so that 1 is the depth zNear and 0 is the depth zFar, we get the same result if we use GL_GREATER. So it's really just a convention.
The Depth Buffering project shows off how to turn on and use the depth buffer. It is based on the BaseVertex rendering of the objects.
The initialization routine has all of the basic depth testing code in it:
Example 5.10. Depth Buffer Setup
glEnable(GL_DEPTH_TEST);
glDepthMask(GL_TRUE);
glDepthFunc(GL_LEQUAL);
glDepthRange(0.0f, 1.0f);
These are the most common depth testing parameters. It turns on depth testing, sets the test function to less than or equal to, and sets the range mapping to the full accepted range.
It is common to use GL_LEQUAL instead of
GL_LESS. This allows for the use of multipass algorithms,
where you render the same geometry with the same vertex shader, but linked with a
different fragment shader. We'll look at those much, much later.
The call to glDepthMask causes rendering to write the depth
value from the fragment to the depth buffer. The activation of depth testing alone
is not sufficient to actually write depth values. This allows us to have depth
testing for objects where their own depth (the incoming
fragment's depth) is not written to the depth buffer, even when their color outputs
are written. We do not use this here, but a special algorithm might need this
feature.
Note
Due to an odd quirk of OpenGL, writing to the depth buffer is always inactive
if GL_DEPTH_TEST is disabled, regardless of the depth mask.
If you just want to write to the depth buffer, without actually doing a test,
you must enable GL_DEPTH_TEST and use the depth function of
GL_ALWAYS.
There is one more issue. We know what the depth value is in the depth buffer after
a fragment is written to it. But what is its value before any rendering is done at
all? Depth buffers and color buffers are very similar; color buffers get their
initial colors from calling glClear. So you might imagine a
similar call for depth buffers.
As it turns out, they share the same clearing call. If you recall,
glClearColor sets the color for clearing color buffers.
Similarly, glClearDepth sets the depth value that the depth
buffer will be cleared to.
In order to clear the depth buffer with glClear, you must use
the GL_DEPTH_BUFFER_BIT. So, the drawing function's clearing, at
the top of the function, happens as follows:
Example 5.11. Depth Buffer Clearing
glClearColor(0.0f, 0.0f, 0.0f, 0.0f);
glClearDepth(1.0f);
glClear(GL_COLOR_BUFFER_BIT | GL_DEPTH_BUFFER_BIT);
This will set all of the depth values in the depth buffer to 1.0, which is our range zFar.
Note
This is all that is necessary to do depth buffering, as far as OpenGL proper is concerned. However, in order to use depth buffering, the framebuffer must include a depth buffer in addition to an image buffer. This initialization code is platform-specific, but FreeGLUT takes care of it for us. If you do graduate from FreeGLUT, make sure that you use the appropriate initialization mechanism for your platform to create a depth buffer if you need to do depth buffering.
Our new image looks like this:
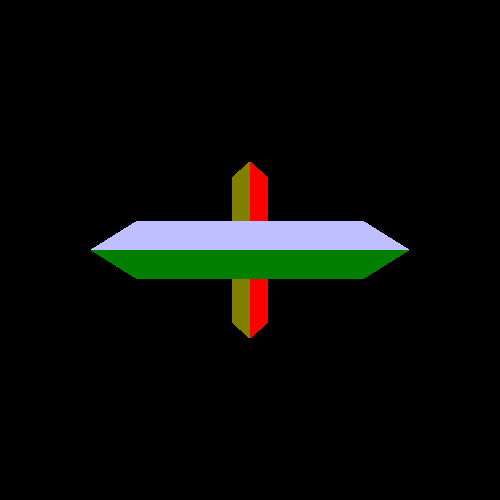
Which makes a lot more sense. No matter what order we draw the objects in, we get a reasonable result.
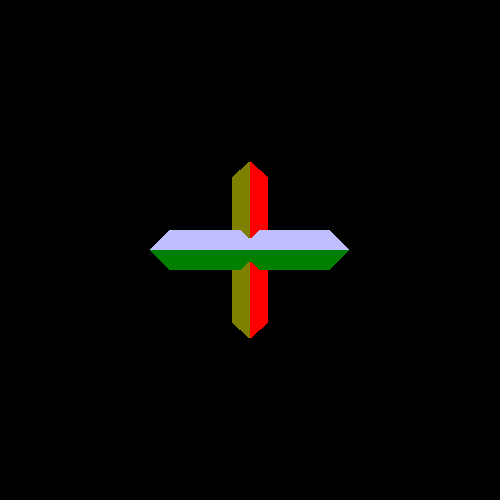
Let's test our depth buffering a bit more. Let's create a little overlap between
the two objects. Change the first offset uniform statement in
display to be this:
glUniform3f(offsetUniform, 0.0f, 0.0f, -0.75f);
We now get some overlap, but the result is still reasonable:
We can even change the line to cause major overlap without incident:
glUniform3f(offsetUniform, 0.0f, 0.0f, -1.0f);
Which gives us:
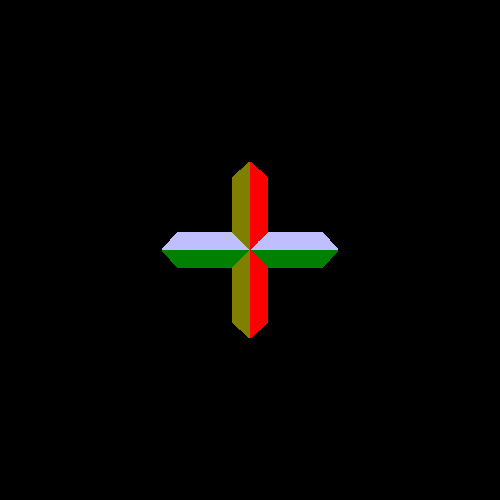
No amount of depth sorting will help with that.